Journal Entry #11: Learning About Cameras
I don’t know a lot about photography, so this major shift to a camera-based calibration approach has required a lot of learning and experimenting over the past few weeks. I’m still only in the initial stages of what the project will require, but I already have some interesting findings that will help guide the path forward.
Determining Requirements
The goal is to use photos of the night sky and a process called ‘plate solving’ to determine where the camera is pointing relative to celestial north; with that info we can move the platform to the proper orientation for sky tracking.
Plate solving is divided into two steps:
The raw image taken from the camera is processed and converted to a list of centroids, or coordinates, of all the stars that appear in it. If too many stars appear, the list is shortened to the brightest few dozen.
This list of bright centroids is compared to a pre-made list of all the stars in the night sky we know are brighter than a certain threshold to see where they match most closely.
Together, these two steps are like holding the raw image over a map of the night sky to see what spot it matches the best.
The first step is heavily dependent on the camera, but before we dive into it specifically we need to take a step back.
We need our polar alignment to be as accurate as possible. In the initial journal entry I set a goal of 15 arc minutes (0.25 degrees) as a requirement, but that was assuming the entire sensor error stack up we were working with previously.
While I think we can do much better with this camera-based approach, I’m going to leave the accuracy requirement where it is for now until I learn more about what’s reasonable.
I expect the 1-minute-or-less startup time requirement is going to be the kicker for us now, since it will define the number of photos we have time to take. For each photo there will be time to move the platform to the proper angle, take the photo (which may need a long exposure time to collect enough starlight), processing time for plate solving, and potentially a re-take if the camera is blocked or doesn’t see enough stars.
The more photos we take pointing in different directions, the more accurate the polar alignment will be, but I’m betting there’ll be diminishing returns. So just to get us started I’ll set a goal of 6 total images taken in a circle.
With a 60 second requirement, and removing ~15 seconds for other startup stuff, we have 45 seconds for these 6 images or around 7-8 seconds per image.
To find the allowable error per image/plate-solving process, we can multiply the final allowable error by the square root of the number of images. So that’s 15 arc minutes x √6, or about 37 arc minutes per image.
First Tests
The first thing we need to do is test a few cameras to see what properties matter for astrophotography. Since I live in a city, these test will be pretty much worst-case-scenario for light pollution, which should give us even better results when we have clearer skies.
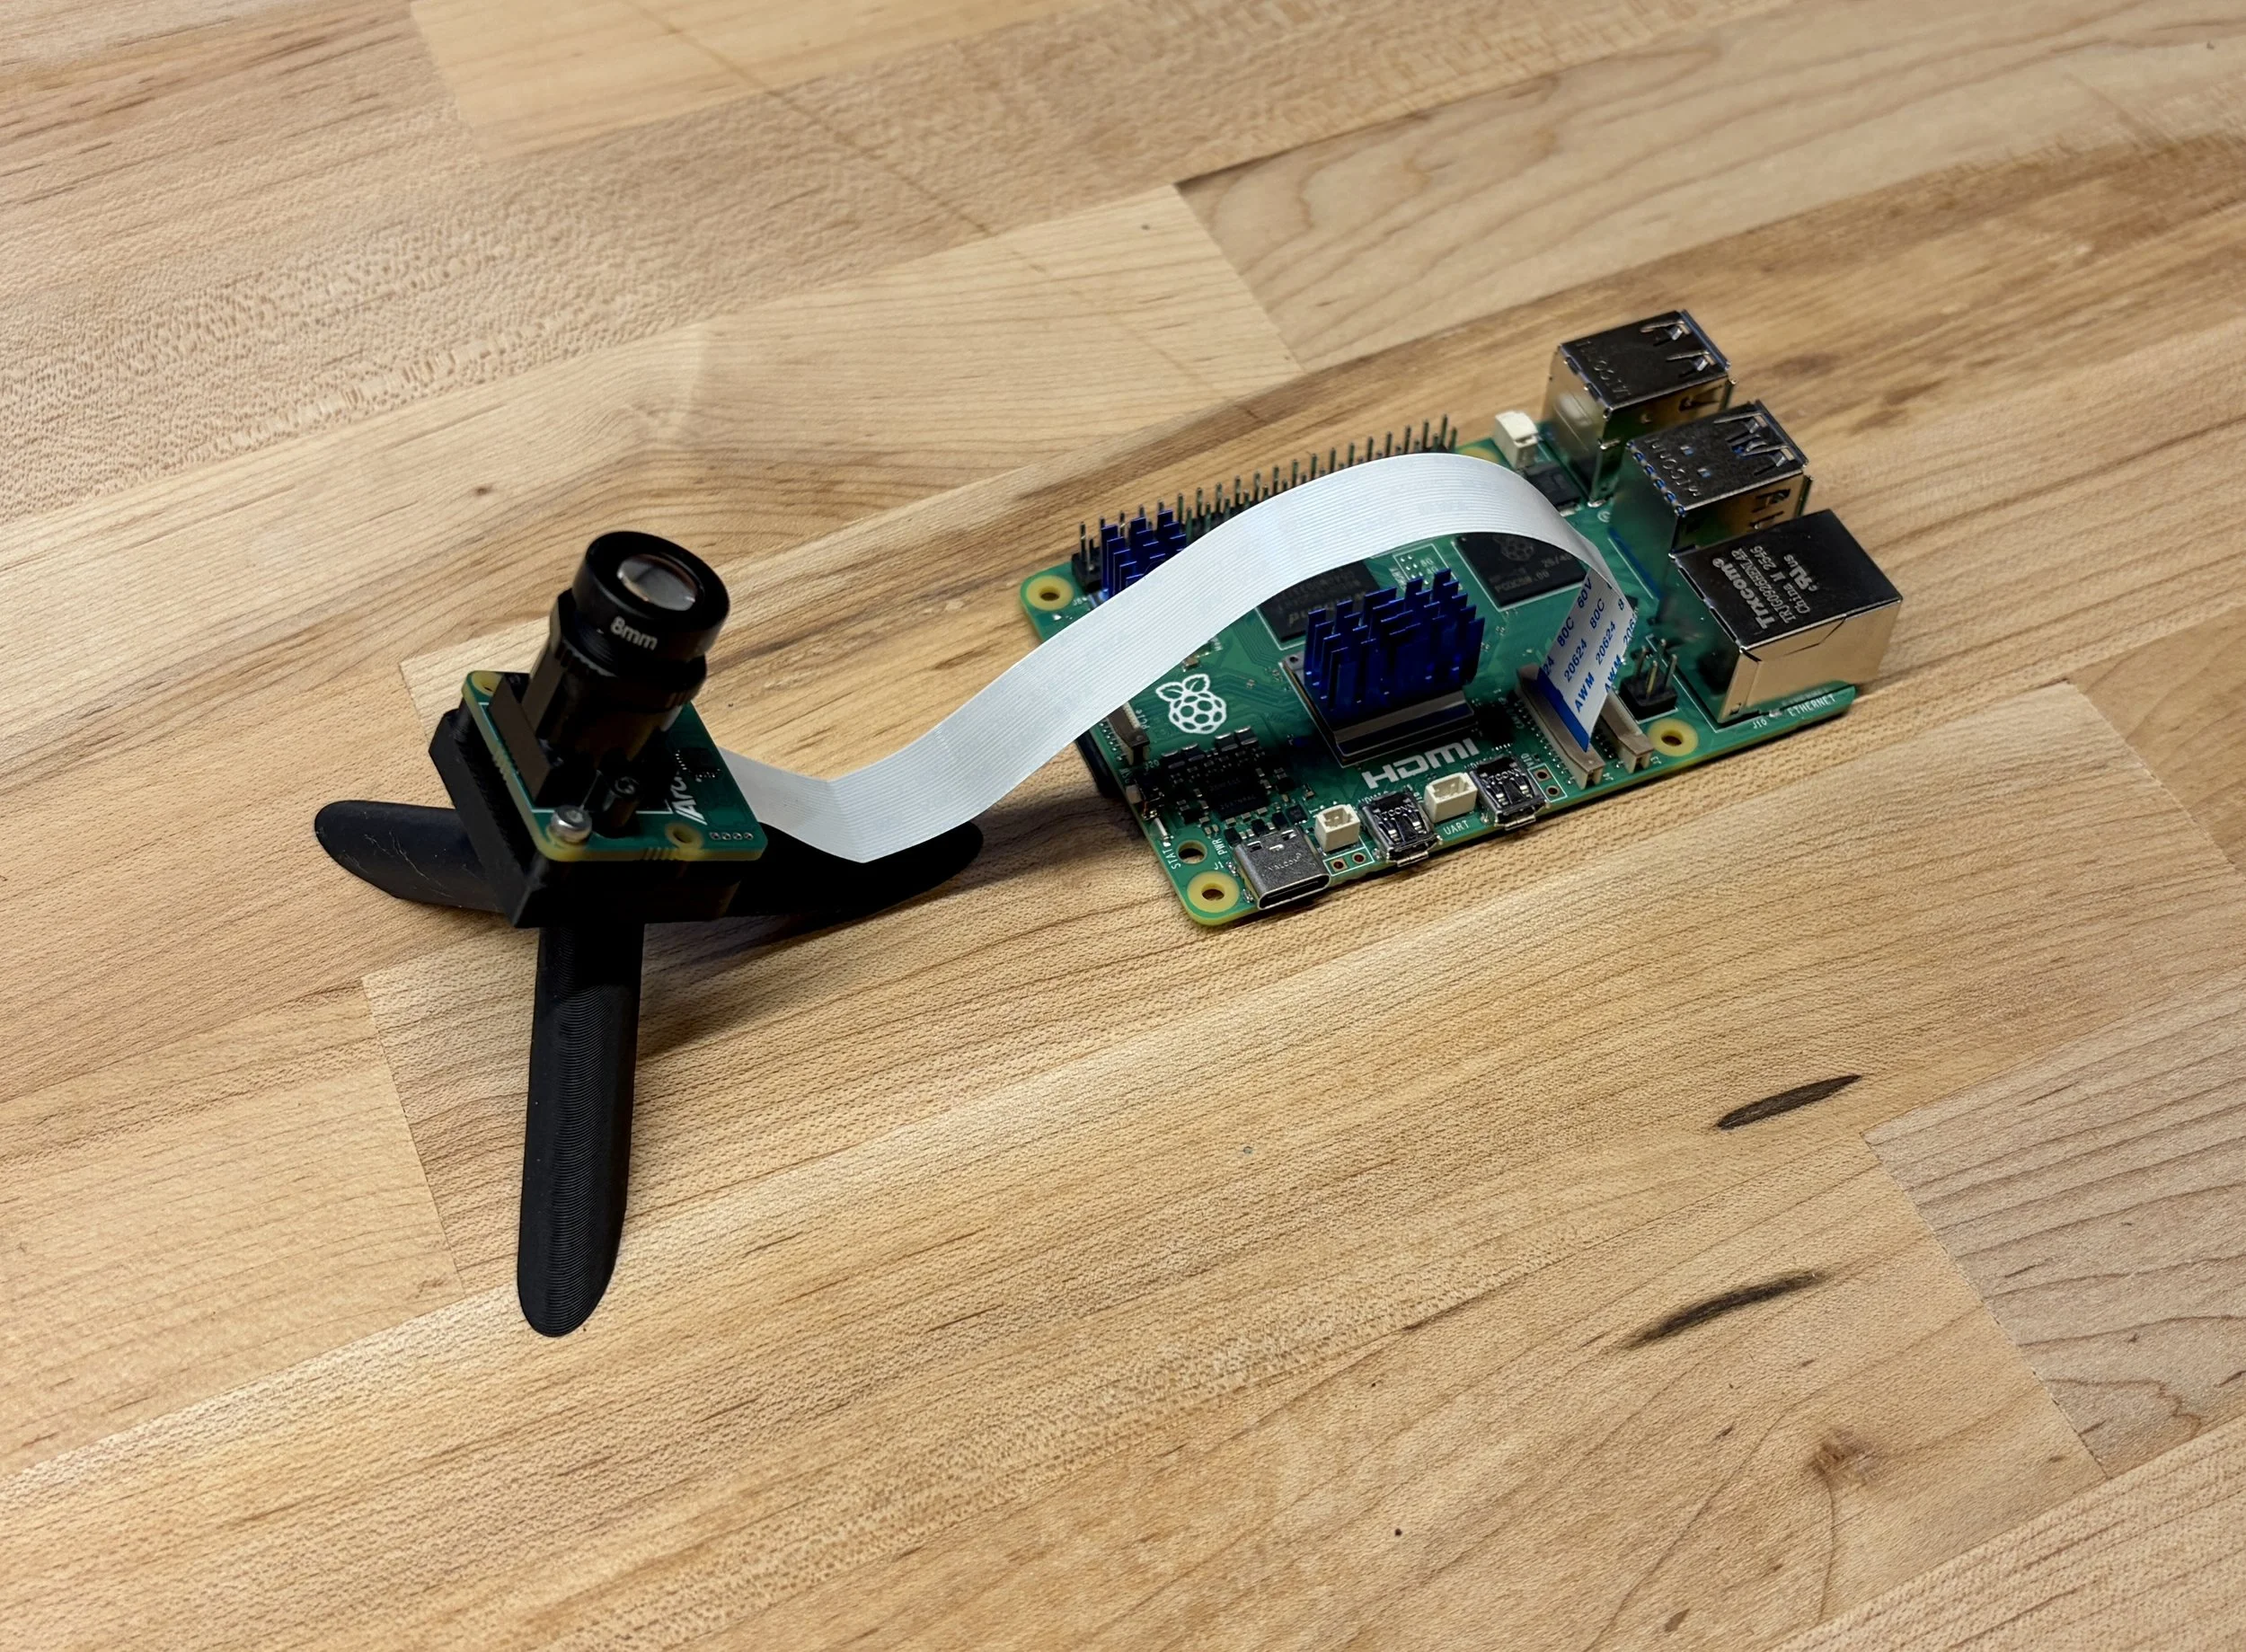
The setup I started with was a $60 arducam module with an IMX462 sensor, an 8mm f/2 lens, and a raspberry pi. I started with an arbitrary 2 second exposure pointed randomly at the sky overhead. For context, visually I could barely see one or two stars in the entire sky (again, lots of light pollution in downtown Baltimore).
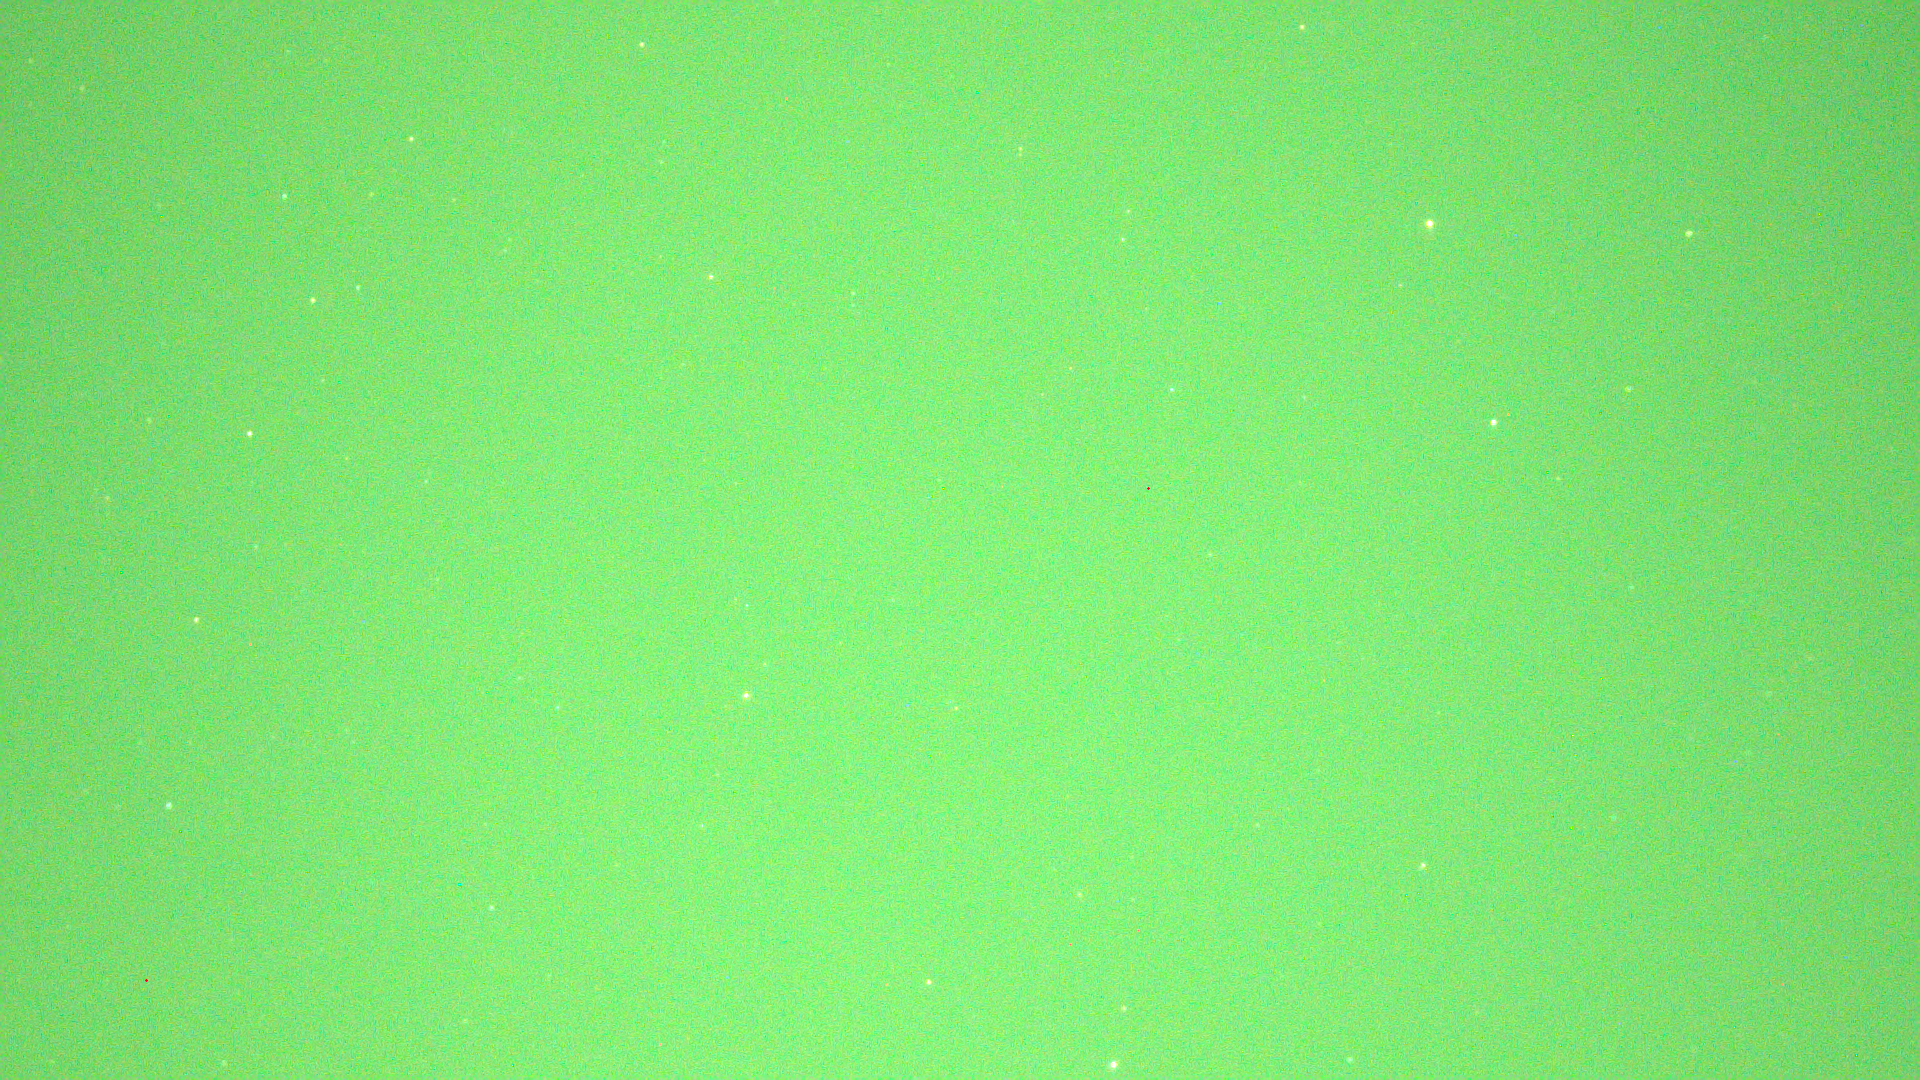
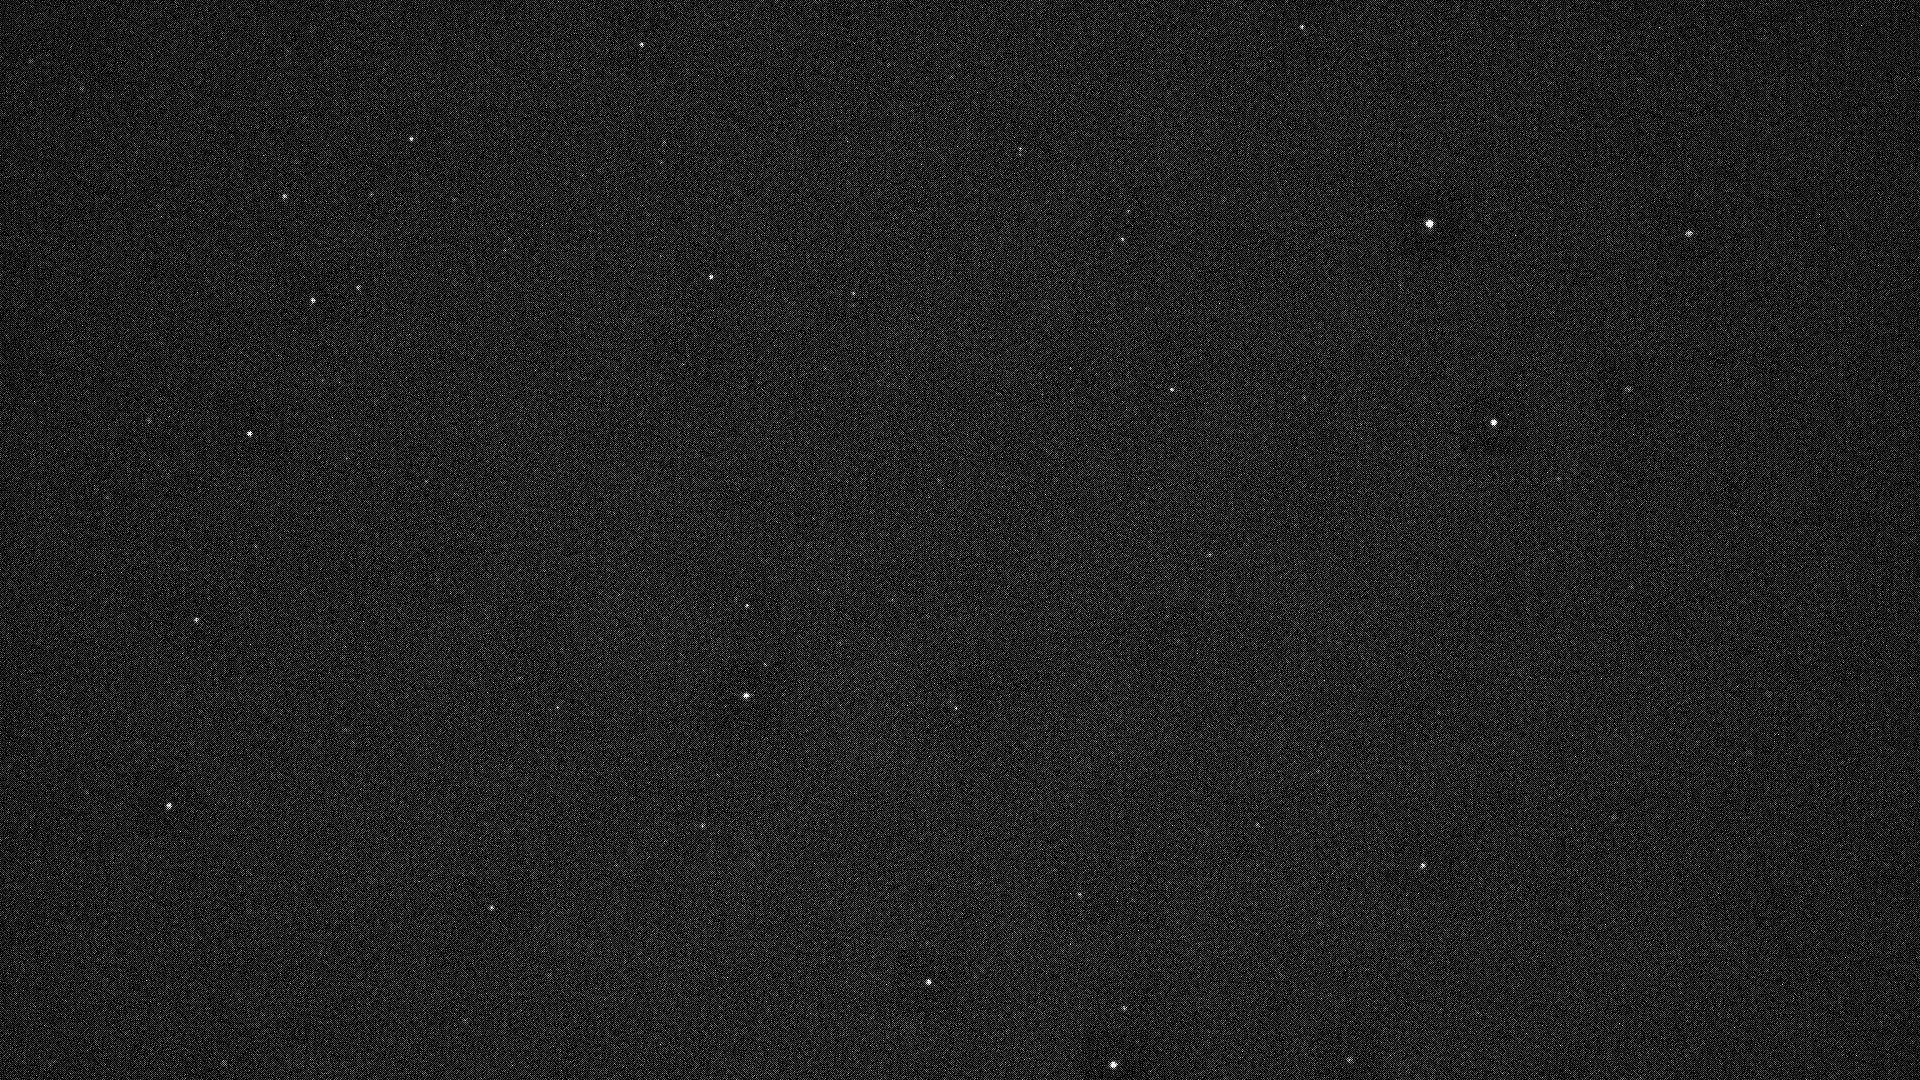
Ignoring how green the first image is (the camera I used has twice the sensitivity to green light than other colors) I was astounded with the number of stars it was able to pick up. This is the raw image, too, so there’s a ton of room for simple post-processing to make things clearer. For example, here’s a rough clean-up of that first image.
I put the raw image into a free online plate-solver (nova.astrometry.net) to see if it was usable. It was! It came back with the constellation Hercules, close to the border with Draco. I ran a 2nd plate solver and it came back with the same result. That’s huge! Maybe light pollution isn’t as big an issue as I expected.
Exposure
Next I ran a sweep of different exposures (how long the camera is collecting light) pointed at the same spot, using the same astrometry.net plate solver to see how many usable stars were found.
1 Second Exposure: 11 usable stars
2 Second Exposure: 19 usable stars
4 Second Exposure: 30 usable stars
Four seconds of exposure found the most stars but that’s where the brightest ones started to max out the sensor. When that happens I lose the ability to measure their centers precisely, which isn’t acceptable. Two seconds at low gain seems to be the way to go.
Noise
With that decided upon, the next thing I looked at was noise. Every camera has a ‘noise floor’ or electrical ‘fuzz’ it adds to every picture. If you look at the background of the cleaned-up picture above, you can see that the background isn’t pure black, it’s full of what looks like TV static. Those aren’t tiny stars for the most part; they’re remnants of the noise from either the camera itself or the sky’s light pollution.
I needed to see how the sensor’s noise compared to the night sky’s noise. Ideally the sensor noise would be way lower than the sky, which would mean I could potentially switch to a cheaper camera. To separate these two sources, I took some images with the camera’s lens cap on (blocking out all light) and compared the overall noise to the background noise of the sky images.
Good news! Baltimore’s light pollution is a whopping 52 times noisier than the sensor! So a more expensive, quieter sensor would be a waste of money. I had been about to go shopping for more high-end Sony STARVIS sensors typically use by astrophotographers, but turns out that would be solving a problem I don’t have.
Choosing a Camera
What we actually need
Raw Sensor Data. Just about every camera you or I have ever used sends its data through a pipeline that cleans it up and processes it into something it thinks you’ll find usable. That might include color correction, brightness filtering, or noise reduction, all of which negatively impact what we’re trying to achieve. Color correction and brightness filtering can impact how bright stars are in the image, which is necessary data for finding the proper center of each star. Noise reduction often completely erases dimmer stars. Not good.
Direct sensor control. We need to be able to control exposure and gain without anything automatically being changed. I can’t have the camera try to automatically ‘help me out’ by changing settings.
We need to be able to unfocus the lens. This is an interesting and counterintuitive one. We need stars to appear as circles instead of points. If everything were perfectly focused each star would only light up a single pixel, which sounds great, but it leaves a lot of free accuracy on the table. If only one pixel lights up, we don’t know where the star falls within that pixel. But if we unfocus enough that each star lights up a circle of pixels, we can measure the center of that circle and much more accurately determine where the star is within the center pixel.
A field of view of around 30-40 degrees. This one was more complicated to figure out, but it’s a balance of a few things.
On one hand we theoretically want the field to be as large as possible to make plate solving easy and fast. Remember, plate solving is comparing the brightest stars from your image to a list of all the stars in the sky that should be around the same brightness. If your image’s field of view is 10% of the night sky and we’re only using the brightest 12 stars, theoretically that master list it’s compared to would only need to include around 120 stars. It’d be a VERY fast solve. On the flip side, if the field of view is super small that master list would need to include thousands of stars and the plate solve would take much more time.
On the other hand, a larger FOV has higher risk of uneven brightness or obstacles in frame. This could be anything from horizon glow to the moon to streetlights or trees.
Also, a tighter FOV gives higher solving accuracy. The same number of sensor pixels will be spread over a smaller piece of the sky, so more detail and fainter stars can be detected.
30-40 degrees seems to be the sweet spot from my initial testing, but we can revisit as needed later.
Some of the cameras considered
Arducam B0444 (IMX462, color) - used for testing and learning, but includes Arducam’s processing layer. There’s also no access to most of the sensor’s settings, so this fails requirements 1 and 2.
Waveshare IMX462 IR-CUT - purchased and tested with the hope that it wouldn’t include a processing layer, which was true. Unfortunately its lens is fixed-focus and can’t be swapped, which fails requirements 3 and 4.
Other IMX462 modules - I still liked the IMX462 sensor so I looked for it elsewhere. Turns out it’s almost entirely out of stock from major retailers and obsoleted by some manufacturers. It was released in 2018 so it’s probably just not being produced anymore. I’d like to find a sensor that will be available for a while, so this probably isn’t the right path.
Raspberry Pi HQ Camera (IMX477) - it has a solid supply chain and a guaranteed production run for a few more years. It also has the most pixels and the most potential accuracy, but unfortunately it also has a processing layer that erases stars thinking they’re bad pixels. That’s a non-starter.
IMX296 - the current winner. First of all it has the most solid supply chain. The raspberry pi variant has guaranteed production into 2032, and it’s available from other vendors like Waveshare, Innomaker, and Arducam. The raspberry pi version and waveshare versions don’t include processing layers and allow direct sensor control, plus they allow manual focusing and swapping of lenses. It’s available in both color and mono variants.
Note on color vs mono sensors
These sensors are each available in color variants and mono variants. Color sensors have a grid of red, green, and blue filters over the pixels so it can take color photos, and mono sensors do not. Most use cases need color, so those variants are much more popular and are typically cheaper, but aren’t ideal for my purposes.
The simplest solution seems to be to use a color sensor and convert everything to black and white. The problem is that stars are different colors - some are red-tinted, some are blue, even though they all look white to our eyes. Since we’re using pixel brightness to determine where the center of each de-focused star is, any differences in brightness from a blue pixel vs a red pixel vs a green pixel will throw off the center positioning.
The solution is to only use pixels of a single color. On each of the color sensors considered, there are twice as many green pixels as red or blue, so that’s what I used in testing. However, at the end of the day that means a color sensor gives us half the pixels and half the data of a mono sensor.
I’ll have to do more testing to see if this matters or if switching to mono is chasing accuracy we don’t need.
What’s next
There’s a lot in the works now that I’m feeling more comfortable about the camera system:
I’ll be doing more testing with the IMX296 color and mono variants.
I got a small LCD display to play around with, so I might be working on a more sophisticated interface.
I’m testing out the non-captive stepper motors noted in the last journal entry and I’m trying to put together an MVP prototype that I can actually put my telescope on!
I’m not sure which of these will be covered in the next journal entry, but stay tuned!
Thanks for reading.